Monday, July 16, 2012

Painting Galvanized Steel

I got this idea from pinterest I believe.  It's been awhile, so I can't find the original pin :(  Sorry!  The tubs that I saw were painted with house numbers on them and looked so pretty!  I decided to try it out on my own, even though after researching how to paint galvanized steel, it looked like it might turn into a disaster.  Oh well, I got the tubs at estate sales for about 5 bucks each so I didn't have much to lose.  I read something about cleaning the surface with vinegar, so that's what I did.  Not sure if it helped or not.

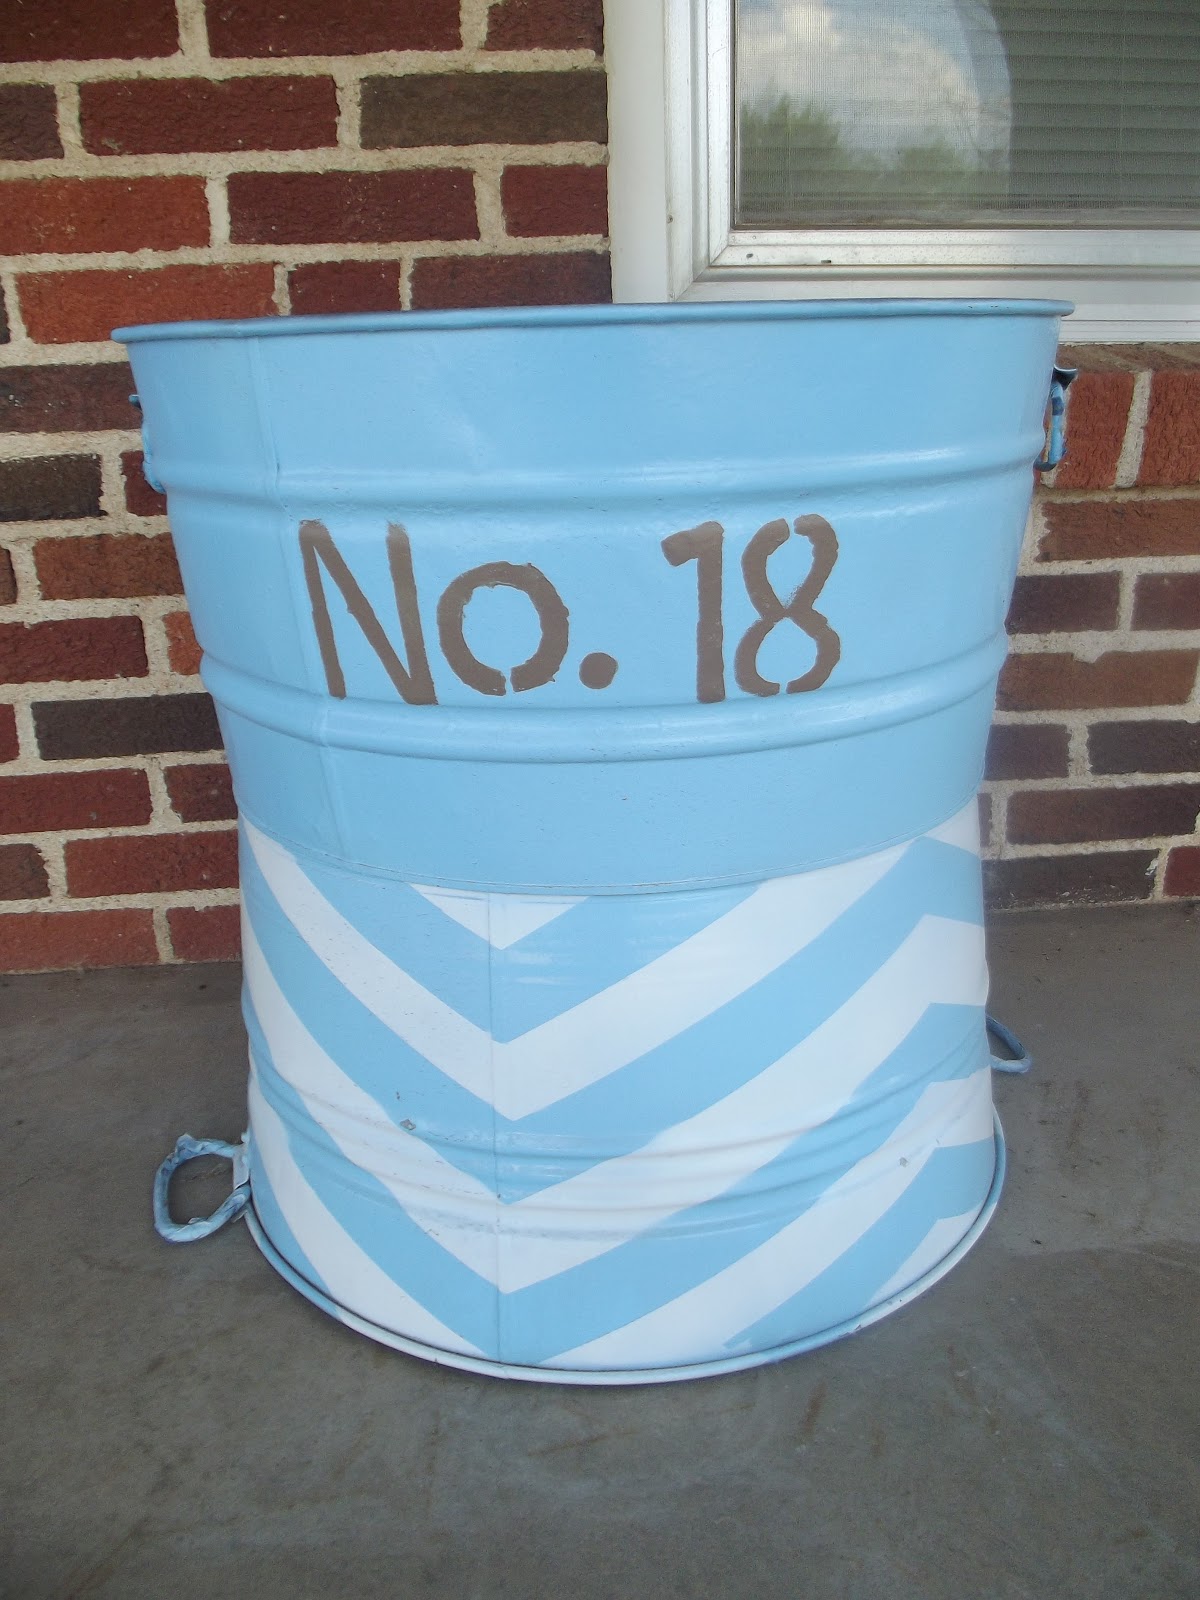
For my first tub, I went with the number idea, using a previous house number for a little nostalgic value.  You can have that even if you've only been married 4.5 years, right?  It turns out it's hard to spray paint numbers onto a curved surface without any bleed through.  So, I sprayed my brown spray paint onto a plate, a styrofoam plate, which I wouldn't recommend since the paint was eating through the plate within about 30 seconds!  I had a stencil from Hobby Lobby to use and just applied the paint with a sponge brush.


Not quite perfect, but that's ok.  Now I need to figure out what to do with it.  I figured I could put some ice and soda in it for a party, but we haven't had one of those for quite awhile!  I also thought about putting some plants in one, but I didn't get motivated soon enough and with it being around 100 degrees every day, I don't really want to put any plants through the moving process at the moment!  Even if they survived, I'd probably forget to water them and then they'd die anyway.  Oh well, the spiders and stray cats seem to like to hang out around them for now!


For my second tub I went with a chevron pattern.  I sprayed the whole thing blue, taped off sections with painters tape (I didn't have any exact method here, sorry), then spray painted over that white.


Here they are side by side.  I used the same blue on them to help them 
go together without matching too much,


These tubs have been out on the porch for nearly a year.  There's a few scrapes in the paint, so if you're planning on using them a lot, painting might not be the best.  If they're just sitting there looking pretty, they should hold up pretty well though!


Thursday, July 12, 2012

Painting by the Yard!


 This painting was quite the project.  It took longer than I anticipated, but I really like how it turned out!  I won't go through detailed instructions as you can get that from the inspiration link!  Basically I drew lines on the canvas with a yard stick, then randomly chose sections to paint.  I started with the four darkest colors, then added in white to get three shades of each.  Wasn't sure how many sections I'd fill in, but I tried to stop myself before getting too crazy!  Glad that I stopped because I think anymore would be too much!


 Inspiration from Young House Love


Here it is in place.  I want to recover the lamp, but really wanted to wait until I saw it in place to decide on the color.  Still not quite sure though!  You can kind of make out my little spaniel (it's a little planter - no plant though!) sitting on the books.  He's in homage to my childhood dog, Casey.  So sad when a family pet passes away, but at least we can keep them in our memories!  I think he looks cute sitting there and makes it fun!


Only thing left to decide is if I want to do the border in dark blue, or leave it as is.  I'm going to leave it for now and see how it grows on me!