Saturday, July 30, 2011

Spray paint. Gone. Wrong.

I was excited to try my hand at spray painting.  I searched Hobby Lobby clearance racks, Goodwill, and my previous finds to find the perfect subject to test my skills on.  Then everything went bad.


Well, not everything.  However when a can of spray paint says florescent orange, it means FLORESCENT ORANGE!


Ha, well at least I got a good laugh out of it!   So, after this mess I decided to try to right my wrong.  I used the same gripper primer I use to repaint my microwave cart.  Then, I took him outside with about 10 others things (yesterday was the first day it was/will be below 90 basically this entire summer so I tried to get as much done as possible).  I can report, he is doing much better now.  Still not sure if I really like him, I was originally looking for a smooth ceramic animal, but this guy cost a buck, so I thought I'd give it a try.  He is now sitting in our bathroom, guarding my husband's toiletries.


Doesn't he look so much happier bright and white?


Two other items that got a makeover were these two Hobby Lobby finds.  They started out a brown/goldish hue that looked too old lady for me.  I started out with a grey primer, and decided I liked the grey so I finished them off with a little acrylic top coat.


These two are sitting on a bookshelf in the bedroom which I just rearranged yesterday.  I'm thinking of dying the curtains and the walls are definitely getting painted, so they should fit in better (hopefully) soon!


A few bits of advice I have for spray painting:
  • Make sure you have a wide open area to spray paint.  I really think this should only be done outdoors.
  • Don't worry about covering everything the first time.  It took me about 10 very light coats to finish these guys.  However, it only took a few minutes for each coat to dry, so it went by quickly.
  • Keep moving!  Don't stay on one spot.  If the paint is coming out, your arm should be moving!
  • Let them dry before you bring them inside!  I had to leave after I finished up, so I brought them into our laundry room without opening the windows.  It was pretty fumy in there when we got back!
  • Also, don't spray paint when it's windy.  I think a few of my pieces got a little dust blown onto them and now they're looking a little funky.

    DIY Zippered pillow covers!

    So, if you are anything like me, you have a ton of fabric stashed away somewhere that you have the perfect project for, BUT you either don't have the time or there's one other thing keeping you from just doing it!  Well, that one thing for me was figuring out how to cut out a perfect square (without a pattern).  Now, I'm sure many people have already mastered this, but I found a quick and easy solution.  All I did was get out a picture frame (another project in waiting...) and trace around the inside, adjusting for length accordingly.  I ended up with a about a 16.5" square, which is what I was hoping for.  Here's a few pics.

    First, I laid out the frame so that the pattern on the opposite side of the fabric would line up nicely.  In other words, I didn' want to end up with a crooked looking pillow cover.


    Next I just got out a pencil and started drawing, making sure I measured about how long each line was.  If you need a line longer than the frame is, just keep moving the frame along, making sure you match it up with the previous line.


    Next it was time to start sewing.  I used a great tutorial I found here for creating zippered pillow covers.  She gives great instructions!   It was pretty simple.  My mom and Mrs. Burroughs ("life skills" teacher) would be proud!

     So, I used some fabric I got at a local thrift store for 82 cents.  And, the fabric goes great with my hopefully-soon-to-be duvet cover!  Here's the final product.


    And a few close ups.  The print goes great with my chairs and the new coral pillow I just got.


    And it's working well with this cute Hobby Lobby find too!


    Have you had any recent success with any sewing projects?  Or are you just waiting to get started?  Go for it!

    Friday, July 29, 2011

    Furniture Rearranging

    Have you ever really wanted to rearrange the furniture in your room, but really did not want to go through all of that manual labor just to hate it?  Me too!  So, what I did was head on over to the Icovia Room Planner.  You can add in all of your furniture, from bookcases to couches, in any dimension you want!  And you can even add color and rugs to see where you might want to go decor wise.

    I would have placed a photo of my design here Yay!  I got it to work!


    but, the website is having issues at the moment.  Anyway, I do have pictures of the real thing!

    Here is the arrangement prior to me getting in there and changing it up.  I think it looks small and cut-off.  The room is narrow, but very long and the furniture was not making the best of it.  I had tried to make one side of the room a library/sitting area kind of place and with the other side being the sleeping quarters, but things were too crowded and not looking good.


    We really don't have anything on our bed but the sheets.  I threw on a blanket we got in Mexico on our honeymoon to add some color.  Do you see how that white dresser (and the bookcase behind it) cut off the room?  And that blonde dresser is a not so favorite piece which just stared at you as you walked in the room.

    Ok, here are the afters (definitely not done in there, but it's progress)!


    It was getting hot in there, and I didn't feel like moving the fans out of the room and putting the Mexico blanket back on the bed, so sorry about that...  But, you do get to see that cool chevron afghan my husband's great grandmother knit!  You may be asking, where did that blonde dresser go??  Even if you're not, I'm going to tell you.  It's hiding behind the bed!  Our cedar chest was hiding (which I love) behind there before.  I thought switching them so that we could hide the eye sore and showcase our chest was a great idea!  I like it! 


    Here's a close up of the cedar chest.


    Did you notice how much more open the non-bed side of the room looks now?  I'm hoping to find a rug to put to anchor the space.  Here's a list of things still to do in this room.

    • Paint the walls (I'm hoping a nice grey will work)
    • Get a new duvet set
    • Get a circular rug for seating area (and possibly some small rugs for each side of the bed)
    • Lamps for by the bed
    • Art for the bare walls!
    • Accessorizing

    Saturday, July 23, 2011

    Microwave Cart to Office Storage

    So, I placed some bids at an auction.  You just tell them how much you are willing to pay, then they bid for you.  This is great for me because it frees up a few hours, and I'm not tempted to bid on random things in the moment! 

    I needed some storage for printers/paper as the current situation was no good.  Paper on the floor, printer in the middle of the living room.  It was not pretty!


    I got a microwave cart for just $10.  The problem, it was laminate and brown. 


    I was determined to transform it into a white beauty.  Here's how I did it.  First up, since it was so shiny, I roughed it up a bit with sand paper then wiped off the dust.


    Next up was primer.  I used Glidden's Gripper primer, which is a latex primer.  If you want to be on the safe side when priming furniture, an oil based primer may work best.  However, I had to do this project inside since it has been so hot lately, (and when working with anything oil-based, you need to be in a ventilated area), so this worked, and no spotting as of now!


    Here's what it looked like after one THIN coat of primer.
     
    Here's the top:

    Yep, pretty splotchy, but it was just the first coat. 
    After the second thin coat of primer I got to this.

    I decided that was good enough to start painting.  So, on went one thin coat of Benjamin Moore's Decorator's White paint in semigloss.  This stuff is a bit on the expensive side, but it goes on nicely and is a great crisp, clean white.  If you don't want to spend the money, you can just grab some of the rack semi-gloss white paint of your favorite brand.  Please, no Wal-mart brand paint, I had one too many bad experience with it.  Never again!  Anyways, here is the end product.


    I got the storage bins at Gordman's for $17 total.  
    They are great for keeping miscellaneous paper and cards at bay.


    The lantern's flanking the boxes I got at Marshall's for $4.50 a piece.  I have plans to spray paint them, but alas, the heat is just not allowing it (I would have to get up at about 4:30am in order to finish a project before the temps rose past 90, which is the max recommended temp for spray painting).  So, they will have to wait.  I may also move these guys somewhere else (I think they'd look great hanging up flanking a mirror).


     Here is the recap:

    1. Sand lightly (I used 150 fine sandpaper), wipe down with rag
    2. Prime with Gripper Primer by Glidden (2 thin coats)
    3. Paint with Benjamin Moore's Decorator's White paint (1-2 thin coats)
    4. Enjoy

    Easy Spicy Chicken Dish

    I have not been wanting to use the oven lately with all of this heat, so I was looking for an easy way to make a meal with the good old crockpot.  Here's what I came up with.  So good, so versatile, and so easy!  All it requires is 5 simple ingredients.

    Chicken, fresh or frozen (as much as you want really) - I used about 8-10 frozen tenderloins
    Can of Corn, drained
    Can of Black Beans, rinsed and drained
    Can of Tomatoes and Green Chiles (Rotel), drained
    Philly Cooking Cream - Southwestern Style

    (chicken's in the freezer...)

    All you do is put the chicken in, then dump in everything BUT the cooking creme.  I set the crockpot on High for about 4 hours, then low for 2.

    During the last half hour, drain all of the liquid from the crockpot.  Put in cooking creme and stir (I used about half of the container - use as much or as little as you want).  Let finish cooking. 

    This is what you should end up with.
    May not look so pretty, but it's tasty!

    You can serve this up multiple ways. 
    The first night I put some in a tortilla with some salsa, sour cream, and cheese.
    It also makes a GREAT dip!  Chips and dip for a meal, you bet! 
    You could also serve it over rice.
    Enjoy!

    Wednesday, July 13, 2011

    Thrifting! And antiquing, and auctioning...

    I was brought up to spend my money wisely, so when it comes to home decor and furnishing, it is hard for me to shell out the big bucks!  So, since spending $80 on a table lamp is not an option, I enjoy finding fun and creative ways to stretch my dollar.  Since there are so many places to get (good) second-hand items, I thought I'd highlight a few today, along with some of my buys.

    Antiquing

    The following trunk was found at an antique store in South Carolina for (I think) about $50.  I say I think because my husband says it cost closer to $80.  Either way, it was a great deal.  Just wish we would have been a little more careful moving it because it has a few large scratches on it now :(  Sad day.  It is large!  Probably about 5 feet long and 2-3 feet high and wide.  Here you go:

    Here's a detail shot.  I love the wood grain!  Inside there is cedar.  I don't have a picture of that right now because the trunk is housing our sheets/extra pillows (in other words it doesn't look too pretty)!


    And here's an angle view so you can get more of an idea of the size and style.  It is just so pretty!  


    We recently found some door knobs for our house at another antique shop (our house seems to have all original knobs, they are the glass kind, pictures and post will hopefully follow). 

    Auctions

    I went to my first auction about a year ago and fell in love!  There are auctions for nearly anything you can think of it (just try googling "auctions" in your local area).  I always imagined crazy talking auctioneers and bidding wars, but sometimes you are the only one interested in an item, and you can get it pretty cheap!  Here are a few examples.

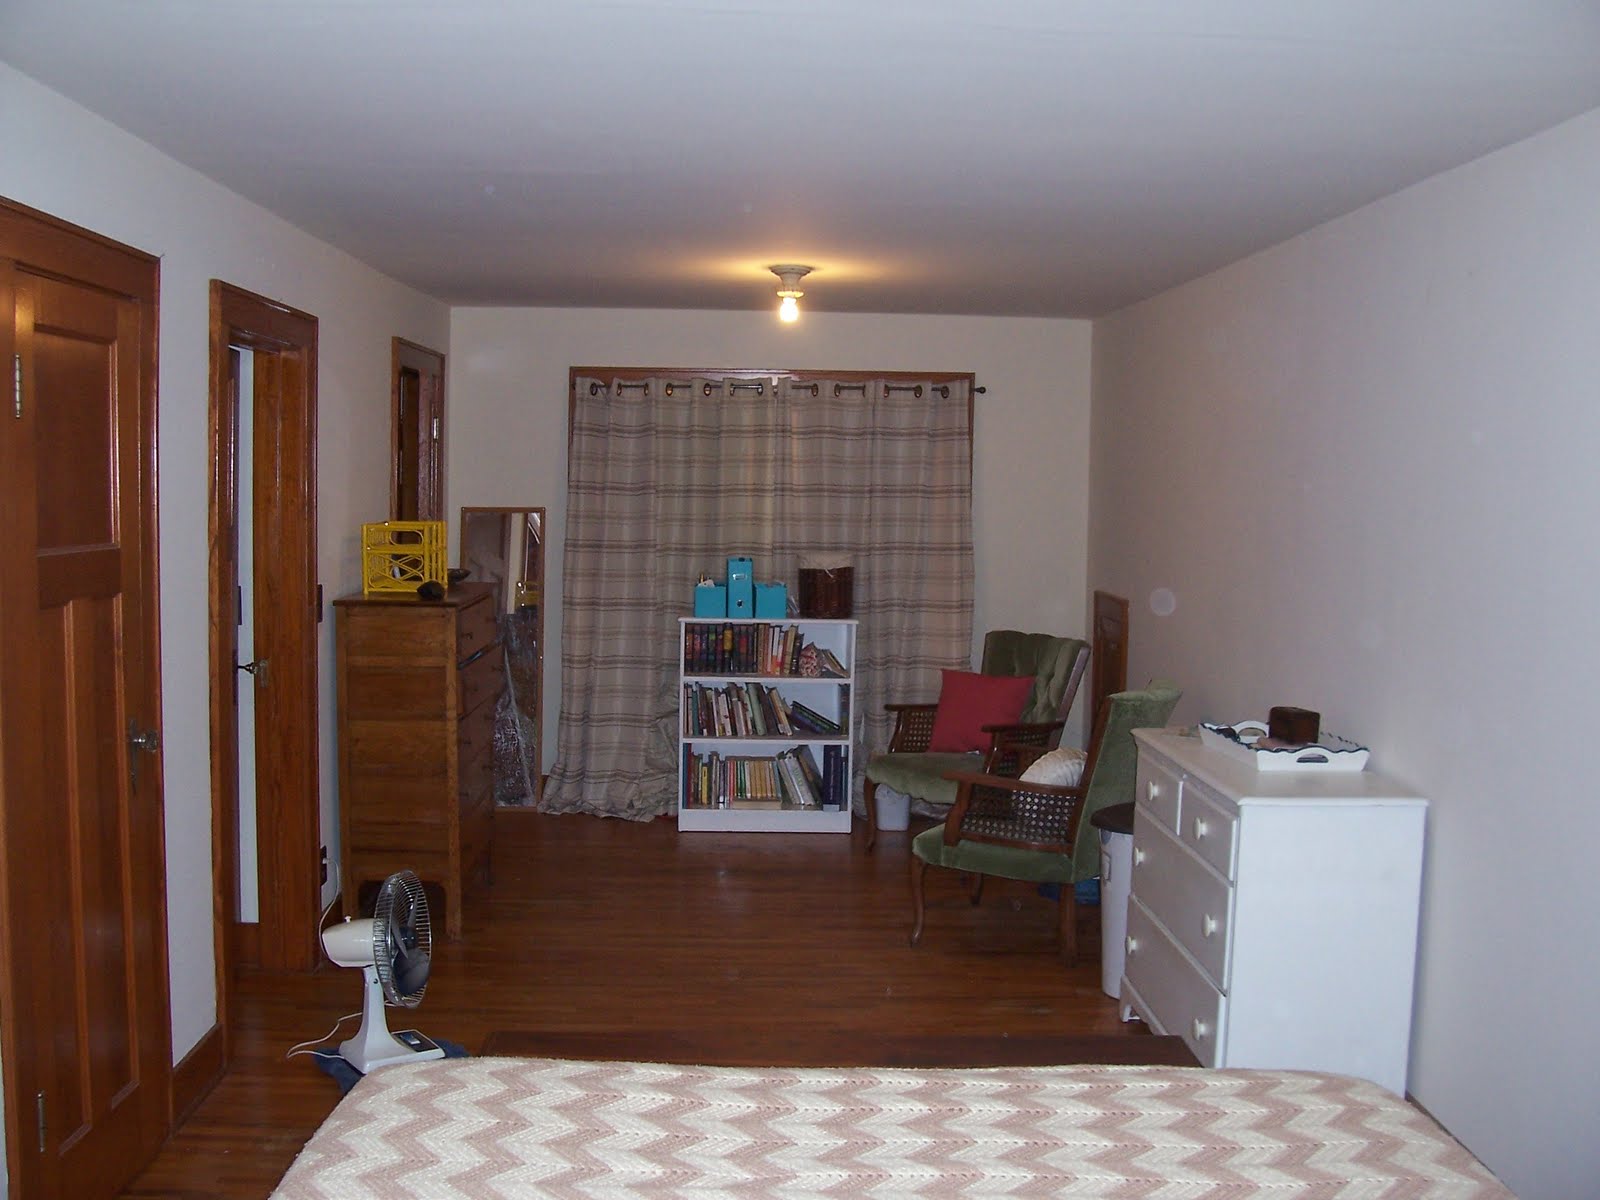
    First up, a pair of green velvet-y chairs.  Now, the rattan arm sides kind of remind me of the 80's (I contemplated cutting it out, but that just doesn't seem practical.  I've also contemplated painting the wood parts white, but not sure I would like that...  I am so indecisive.


    Here's a close-up of one of them.  They we in great shape and I got the for $17.50 each!  Quickly looking around, I found these ones here for more than 10 times that!

     (Sorry about the bunched up curtains on the floor...  I'm still figuring out if I should hem them, get different curtains, etc.  so for now, that's how they're staying)

    Up next, the dining room hutch that my husband snatched up for about $60.  I found a similar one for about $400 (at Sears) here.  I would love to paint it white, but my husband says I can't "ruin" good wood, so it will stay like this for now.  It's a bit mismatched now, I'm still finding the best homes for things.  A few of the items on there were other auction buys.


    Here's a cute little owl ice bucket (it came in a big box of other things at an auction for under $5).


    And here's a cute little copper tea pot.  This was basically a freebie.  I thought I was just bidding on an old cast iron corn muffin pan, but this came with it as a bonus!  Not sure if I'd use it to make tea, but it looks cute on its own!


    Clearance

    Are you one of those people who walk into the store and immediately ignore anything that doesn't have some sort of sign designating a sale?  No?  Well, that's me.  Whether I'm looking for clothes or home decor, the sale and clearance racks are where its I'm at! 

    Here's a few items from Hobby Lobby, and my latest find from Gordman's.  

    First up, a # sign!  If you know me, you know I like numbers!  Math and Statistics = fun problems I solve in my sleep (yes I have had dreams in which I solved a math problem I was previously working on)!  Not sure if I will paint this guy or not.


     And here is my awesome bronze-y, shiny elephant I got tonight at Gordman's for 9 bucks!  I couldn't resist!  He's about a foot tall and a foot wide, so he's a pretty hefty guy.  I have plans for putting him on my painted bookshelf once I put the final coat on (details to come).  He's flanked by two Hobby Lobby finds (I love it when their clearance goes 90%).  Originally, these pieces were who knows what color, but after a coat of white paint, they'd fit in anywhere!


    Have you guys had any luck with thrift store buys lately?  Share your favorites!

    Thursday, July 7, 2011

    $3 art makeover

    So, I have been spying some cute blue and yellow hand towels/napkins at Target for at least a month now, at $4 for two, they weren't really that big of a budget buster, but I didn't want to spend that much being the cheap-o that I am!  So, when I was at Target last week, I was excited to find the towels marked down to just $0.99 for two!  Yay!  I grab up 3 packs.  Then, I had to decide what to do with them.  I am looking at changing our bedroom decor to a light blue/yellow/green/gray palette and thought these would be nice bursts of color to start it out!  So, I wanted to do some kind of art for the walls (they are bare now, which is a lot of naked wall in our super long room!).  Then I remembered these guys:


    These are one of the first crafty projects I did when we got married.  I used some clearanced upholstery fabric from Hobby Lobby to cover them, then they hung over the bed as a sort of backboard.  I still like the pattern, but am going for a lighter look when it comes to style (I like everything being nice and cheery!).  So, these had to be swapped out.  As you can see if you look closely below, all I did was staple the fabric to a canvas (also obtained at Hobby Lobby).


     After using a staple remover to unattach the old fabric, this is what I had:


    Batting covered canvases!  All I did was staple the batting (the kind that comes in sheets, not the kind for stuffing pillows) to the back of the canvas.  I did this to give it a "fluffier" look.


    Next, I had to staple on the dish cloths.  I discovered the patterned dish cloth was not wide enough to cover the entire canvas.  So, what I did was use the solid color dish cloth first for a background.  Here, I stapled the two far short sides first (to make sure everything was nice and wrinkle free), then stapled along the long side.  I left the corners for the end.  Those are detailed below.


     I'm sure there are many ways to get nice corners (leave suggestions below if you have any).  This is what I did (orange nail polish and all!).  I made a pleat in the fabric with one of my fingers, then just folded it over.


     All that was left to do was staple.


    I did this to all three canvases and this is what I ended up with (please forgive the wrinkly sheets)!


    Now, all I have to do is decide where to hang them.  But, I may wait to do that until we get everything painted.  I am think a nice light gray tone.  I know that sounds drab, but I have seen so many awesome rooms with that wall color!

      See the following:
    http://www.younghouselove.com/2011/01/workin-nine-to-um-nine/

    Here are a few more shots of the finished product.  Since I already had all of the supplies but the dish towels, this project rang in right around $3.  Not bad for a cheery update!  Any sugggestions for where to hang them?  I was thinking over the bed, but I'm not sure I like that.  Maybe I will frame them out and put them over a dresser.  Decisions, decisions!