Here are a few before and afters of our house compared to when we first bought it, along with what exactly we did.
Here is the floors of our house when we got them - looking a little thirsty.
 |
| Ignore the dates, I apparently didn't update my camera. |
What we did was first combine a light and dark Old English (a few drops of the dark in with quite a bit of the lighter stuff), then go over all of the floors. This took quite a while to dry (3+ days), and we had to wipe up some excess. After that we mopped on SC Johnson's One Step No Buff Wax. More than a year later, the floors are still looking good (much less thirsty than before) with minimum upkeep.
Don't they look so much better all nice and shiny?
Our next big project was taking down the wall paper in our now office. As we scraped and scraped I believe we uncovered 3-4 layers of wallpaper! We started out just using a metal putty knife, and made fairly good progress with it (especially on the outer walls), but it wasn't going to be enough.
Below is about how much progress we made by just scraping it down.
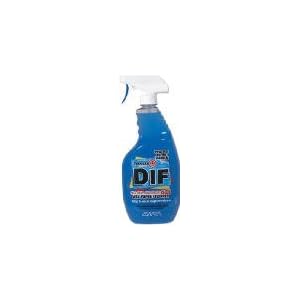
So, we headed to Walmart and bought DIF wallpaper remover gel and a paper scraper.
These two made it a whole lot easier to rip into that wallpaper. Once we had everything scraped, and had wiped down the walls with a little water (might have used a mild soap too, not remembering now), we decided to use Kilz primer to hopefully block out any stains that could come through the paint later from leftover wallpaper glue (it's worked so far!). Here's a photo of the difference between the bare wall and what got covered with the primer.
Before all the priming went on, we had some problem to deal with. A few big cracks and a ton of tiny ones! We didn't want to have all of those showing through our paint at the end, so we bought some plaster (our walls are plaster to begin with). We filled in holes and lightly went over the areas with the smaller cracks. Then came the fun part, Matt got in there with a sander and heavy duty mask (approved for plaster particles/lead paint remnants, just in case) and he sand down everything so we would have a nice smooth wall. One of the walls in our hallway is fairly wavy, so we really wanted to make sure everything was nice and smooth. Here's a view of the room all plastered and primed, just waiting for a new coat of paint.
No, we don't trust ourselves enough to not get paint on our floor so we covered everything with a plastic tarp. When choosing a color, I wanted something that would work with the wood trim (it really adds character to the house and I don't think even I could paint it white, and my husband definitely wouldn't allow it!). The living area was already painted a golden hue, Walmart's ____ Honey, which I would not recommend solely based on the quality of the paint, not the color. (ps - this was our first paint job, so we just went with what was cheap, but had to use 3 coats and kept running into trouble with clumping and poor coverage) The color looks really nice with the wood. Anyways, I brought the honey color ship along with me when choosing what color we should use for the office and decided on Kilz Herb Tea. What could go better with Honey than Tea? We really wanted to make sure nothing would come through, hence the use of primer and Kilz paint on top of that. Here's what it ended up looking like on our walls. One coat covered pretty well, but we had a few little areas that needed touched up, so we just used another coat over all of it.
I was afraid it was a little dark, but I really like the way it looks with the wood trim. This was taken just after we had shined up the floors (this was one of the last rooms we did that in). Just need to figure out how to put the rest of the room together now! We have a desk/bookcase in there, along with the piano we inherited with the house, but it's pretty messy right now, so a total after shot will have to wait!
Ok, I feel like this post is getting too long, so I'll save the laundry room/stairs/basement for another day! Now, back to studying!


